Time to prime your Keurig? If you’ve seen the word “PRIME” flash on your Keurig’s display, or if it is just been a long time, you’ll want to get your machine back in tip-top condition.
That’s where we come in! This handy guide will show you how to quickly prime your Keurig, removing mineral buildup and clearing the inner tubes. You will be brewing pristine cups of tasty coffee in just a few minutes!

Before You Start
Before you begin the priming process, there are a couple of quick tricks to try. You may have a Keurig prime error and not need to go through the whole process. If you see the PRIME message, you may have incorrectly attached your water reservoir, or your Keurig may simply need to be reset.
Try detaching and reattaching your water reservoir (if it’s removable). Make sure everything is lined up and looks right. If that does not help, try unplugging your machine and letting it sit for a few minutes. Then plug it in, turn it on, and see if the prime message has disappeared.
RELATED: How to Reset a Keurig (Tips & Tricks)
Why does your Keurig say prime?
The prime message on a Keurig typically means that minerals have built up in the tanks and tubes. Minerals in your water, like calcium and limestone, can stay behind and get in the way of your coffee maker’s water flow. That’s why you need to clean and descale your Keurig regularly.

How to Prime Your Keurig:
If you do need to prime your Keurig, don’t worry: it’s a pretty simple process. Scroll down to follow our simple step-by-step guide.
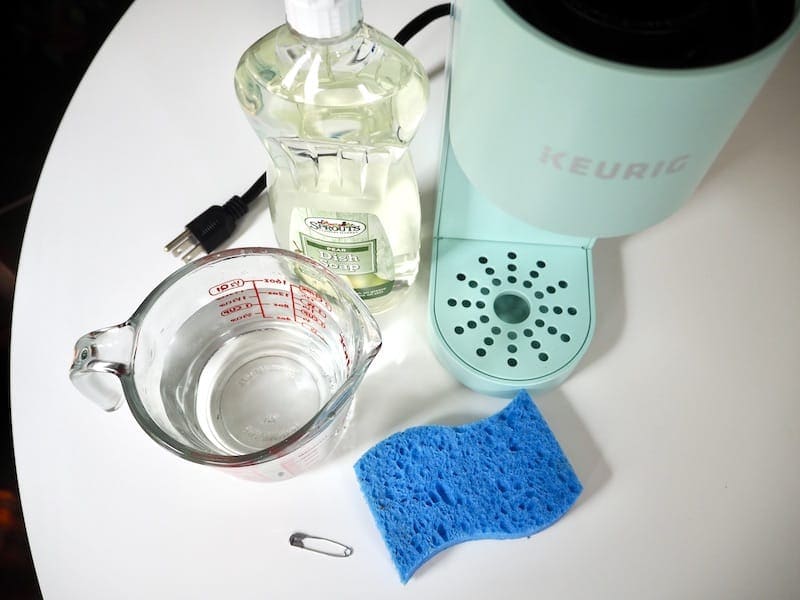
- Dish soap
- Warm water
- Keurig descaling solution or white vinegar
- Sponge or washcloth
- Paper clip or safety pin
1. Turn off and unplug your Keurig.
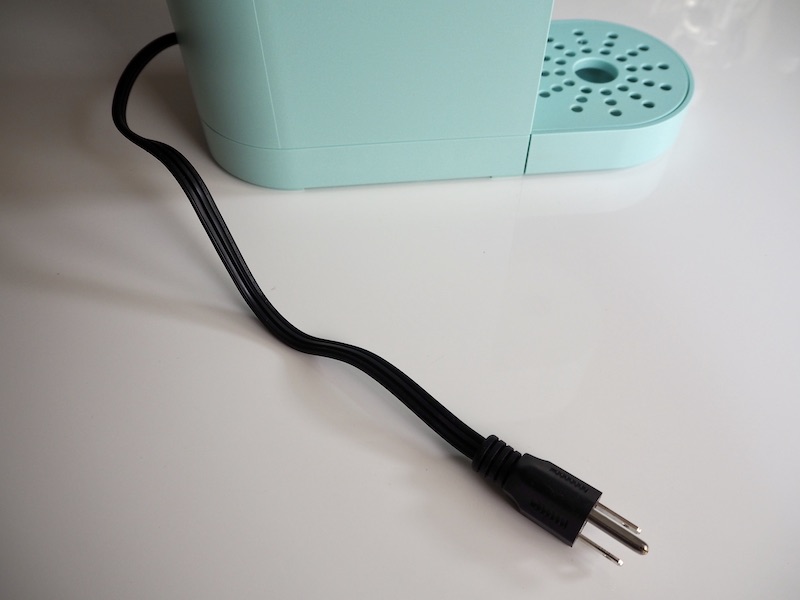
The first step is to fully power down your Keurig. Turn it off and unplug it to avoid any electrical issues.
2. Empty and clean the water reservoir.
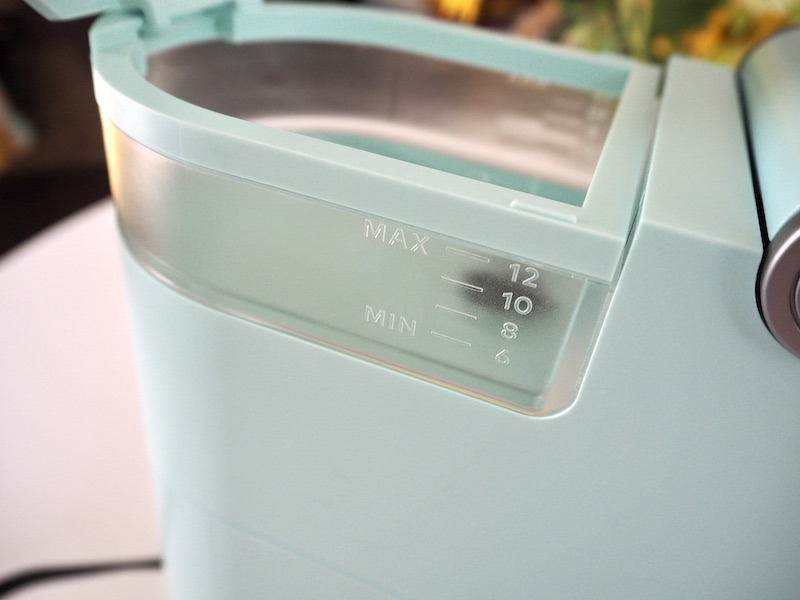
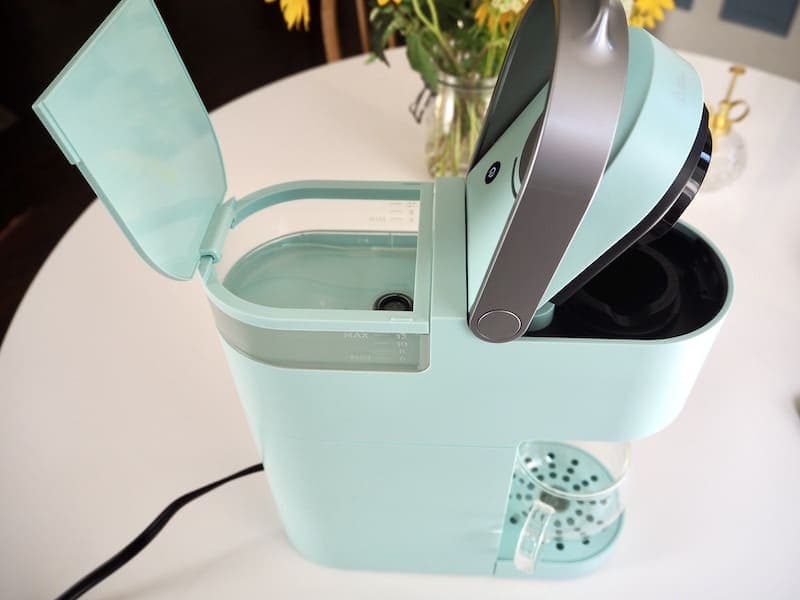
If you can remove your water reservoir, take it off and wash it thoroughly with soap, a soft sponge or washcloth, and warm water. If you can’t remove it, place your machine in the sink and wash it carefully, making sure not to get any other parts of the machine wet.
3. Clean the needle.
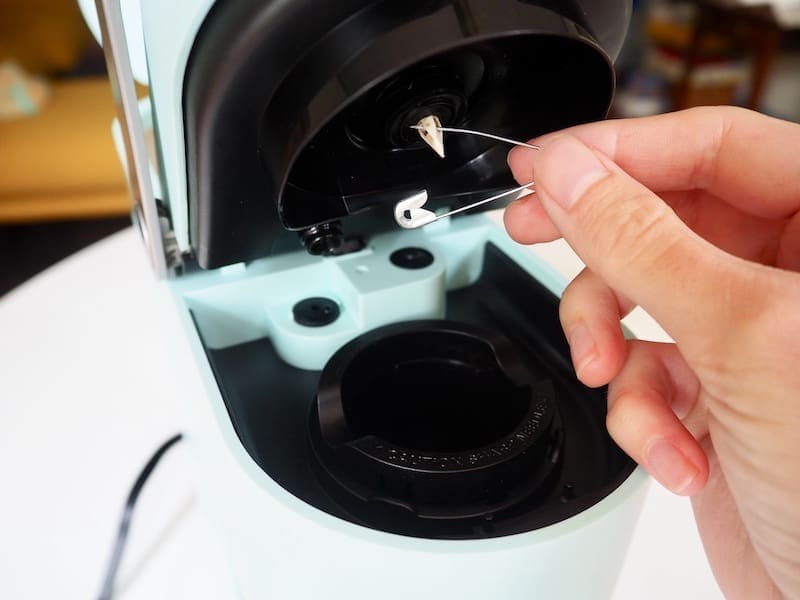
Open your Keurig’s brew head and take a close look at the puncture needle. If you see any gunk or coffee built up, carefully dislodge it using a paper clip or safety pin. Wipe the needle clean using your sponge or washcloth.
SEE ALSO: Our Complete Guide to Keurig Needle Maintenance
4. Plug your machine in and run a full descaling cycle.
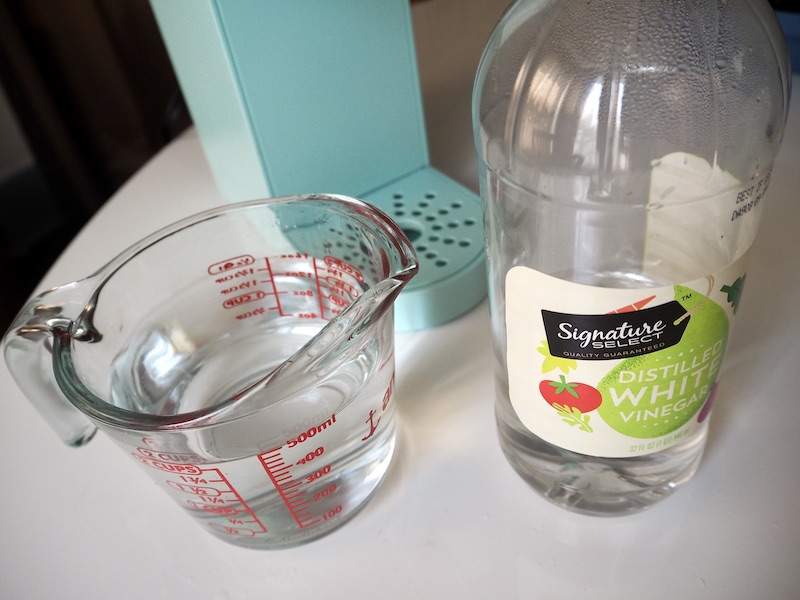
Reattach the water reservoir and plug the machine back in. Add descaling solution and water to the tank, place a cup under the brew head, and run a descaling cycle. This will remove mineral buildup inside the machine.
RELATED: How to Clean a Keurig Using Descaling Solution or Vinegar
5. Run two brewing cycles with water.
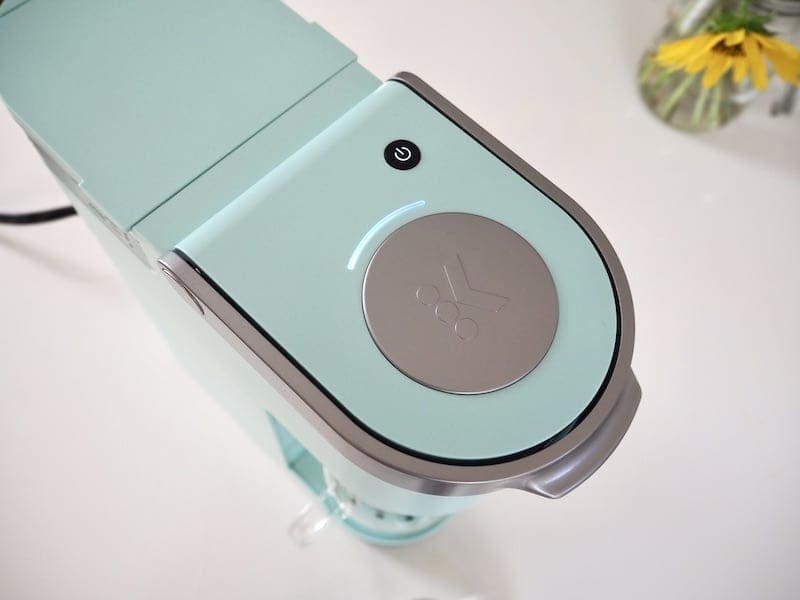
You don’t want to taste cleaning supplies in your next cup of coffee, so you’ll want to rinse your Keurig out. Do this by filling your water tank with plain water and running brew cycles until it’s empty.
6. Enjoy your primed Keurig!
That’s it! Your Keurig should now be primed and ready to brew. Enjoy your coffee!

Conclusion
We hope this guide has helped you easily prime your Keurig — and get rid of that annoying alert. It’s a simple and important process that will keep your Keurig in great shape. The last thing you need is a malfunctioning single-serve coffee maker! These coffee makers are all about convenience, so you need a quick, easy way to get them back in shape.
Now that your machine is back up and running, why not try a new brand of K-Cups? We have lists of the best dark roast K-Cups, reviews of compostable K-Cups, and more!
Worth reading: How to Clean a Keurig Mini (Simple Steps)
Table of Contents


