The Keurig Mini is an inexpensive, compact coffee maker that brews tasty coffee at the touch of a button. But when it is time to clean your Keurig, you may wonder how to do it thoroughly and efficiently.
That’s where we come in! We’ve put together this detailed guide to cleaning and descaling a Keurig Mini. Your coffee maker will be clean and in perfect working order before you know it. Here’s how to clean a Keurig Mini as quickly and easily as possible:
Why do you need to clean the Keurig Mini?
Your Mini is a simple, convenient machine, but if you don’t take care of it, it won’t stay that way. As you use your Keurig, minerals in your water and oils in your coffee can build up in the tank and tubes. The needle may get clogged, preventing your Keurig from brewing correctly, and you could even have mold or bacteria growing inside.
The good news? If you clean your Keurig regularly, you won’t encounter these problems! Scroll down to find our simple guide to cleaning a Keurig Mini:
How to Clean a Keurig Mini:
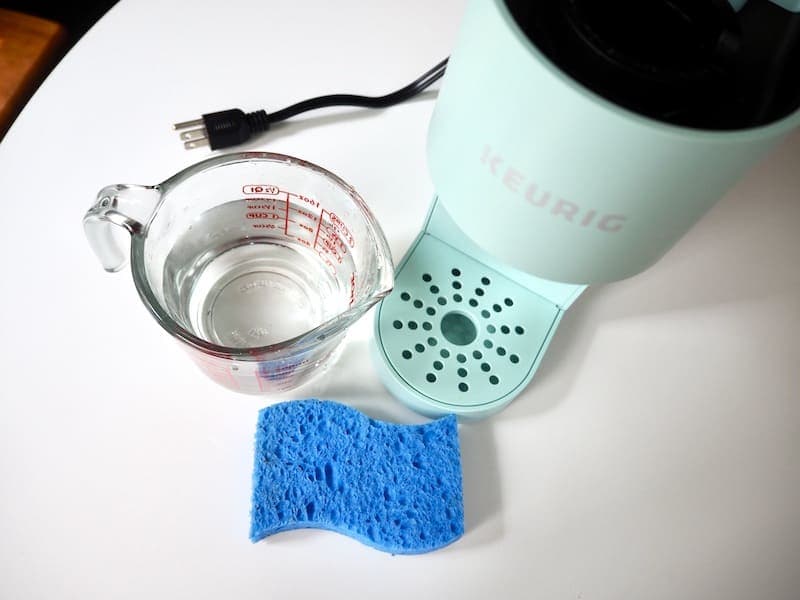
What You’ll Need:
Cleaning Supplies
White vinegar or Keurig descaling solution
Water
Dish soap
Equipment
Sponge
Coffee mug or another heat-safe container
Paper clip or Keurig rinse pods
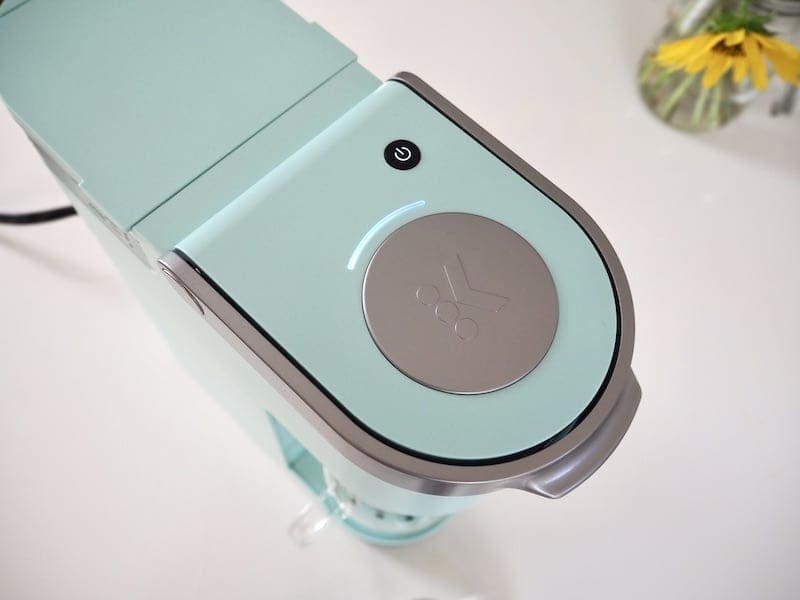
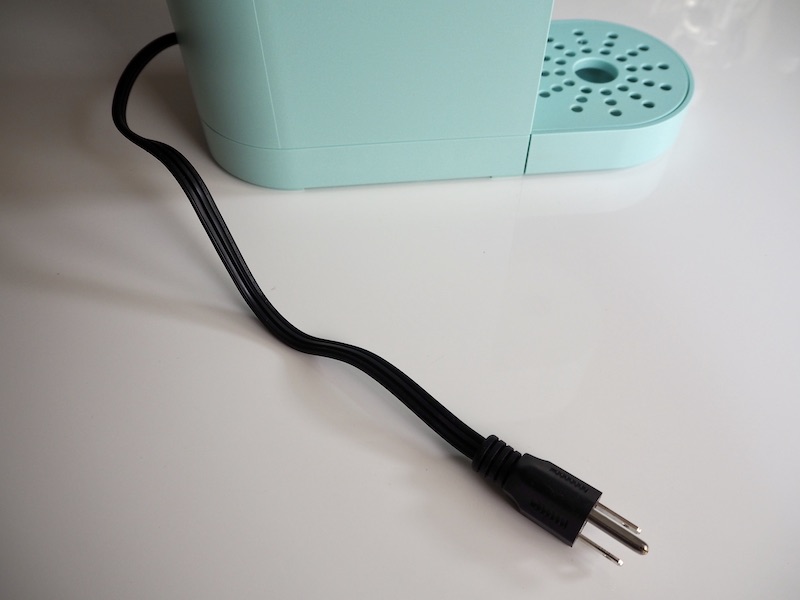
1. Turn off and unplug the machine.
Before you do anything else, fully turn off and unplug your Keurig.
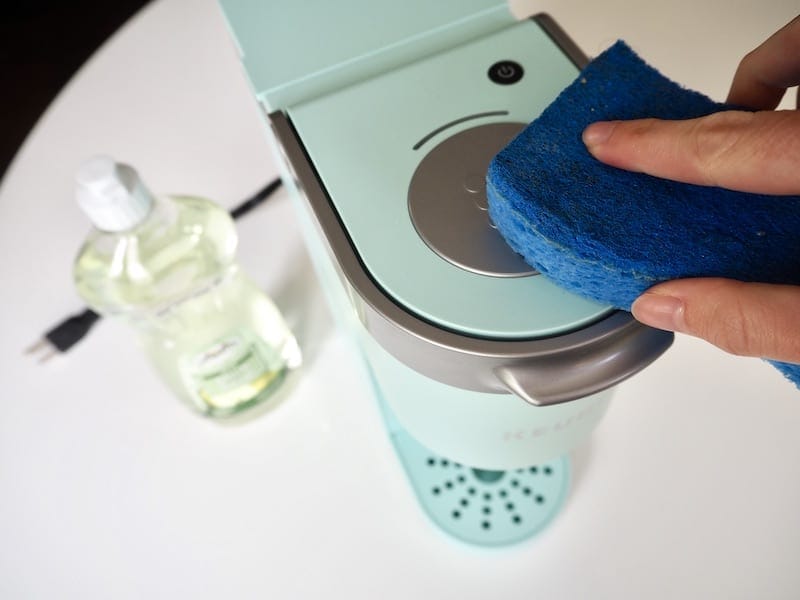
2. Wipe down the outside.
Dip a soft sponge or dishcloth in warm, soapy water. Carefully wipe down the outside of your Mini, removing any coffee drips or stains.
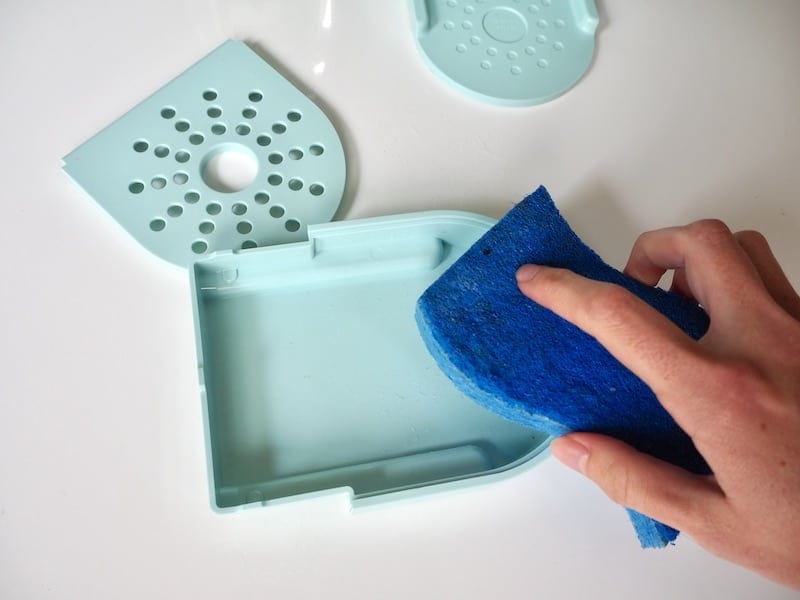
3. Remove and clean the drip tray.
Take the drip tray off and wash it in the sink with soap and a sponge. Coffee drips can collect below the screen, so make sure you take it fully apart and clean every edge.
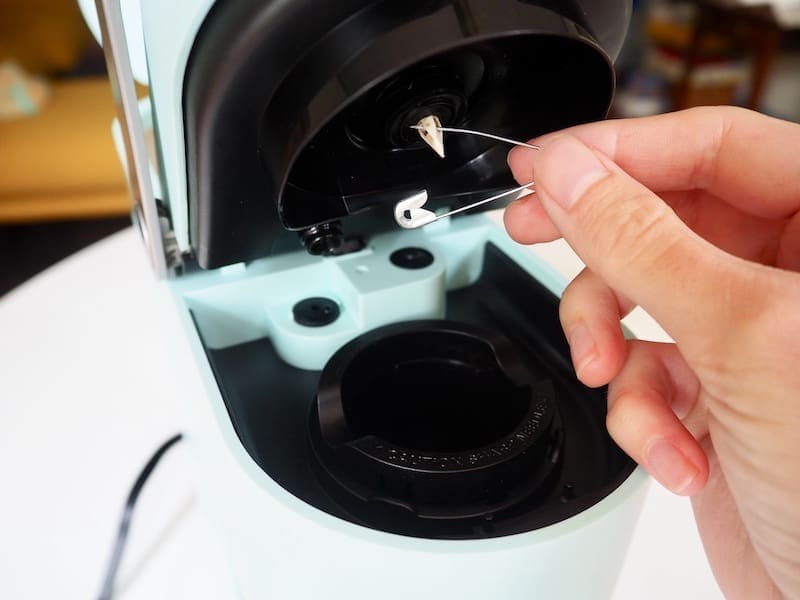
4. Clean the Keurig needle.
Cleaning the needle is important because coffee grounds can build up, keeping water from flowing and potentially growing mold. You can clean it by hand using a paper clip or safety pin, or use one of Keurig’s rinse pods (included in the Keurig brewer maintenance kit).
For our full guide to Keurig needle maintenance, click here.
5. Run a descaling cycle.
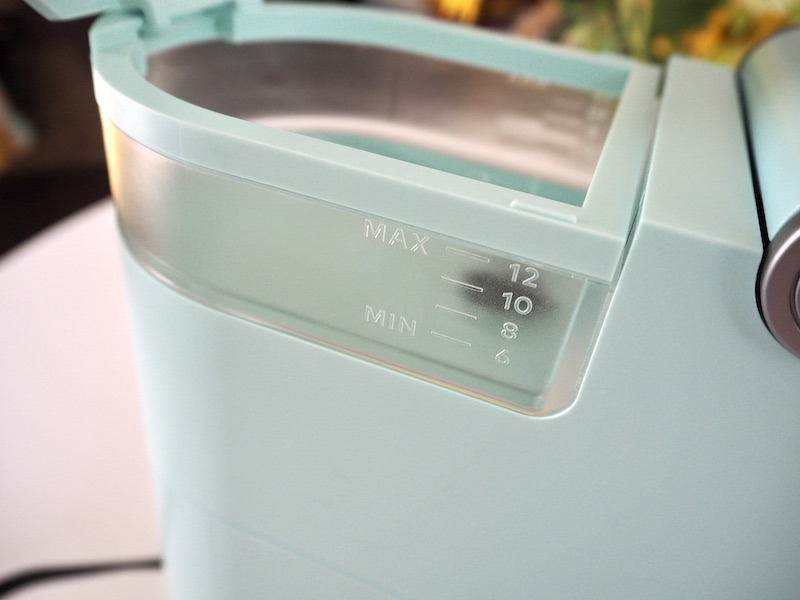
Plug your Mini in and turn it on. Pour white vinegar or Keurig descaling solution into the water reservoir. Follow the directions on the solution bottle or fill halfway with vinegar. Then fill the rest of the way with room-temperature water.
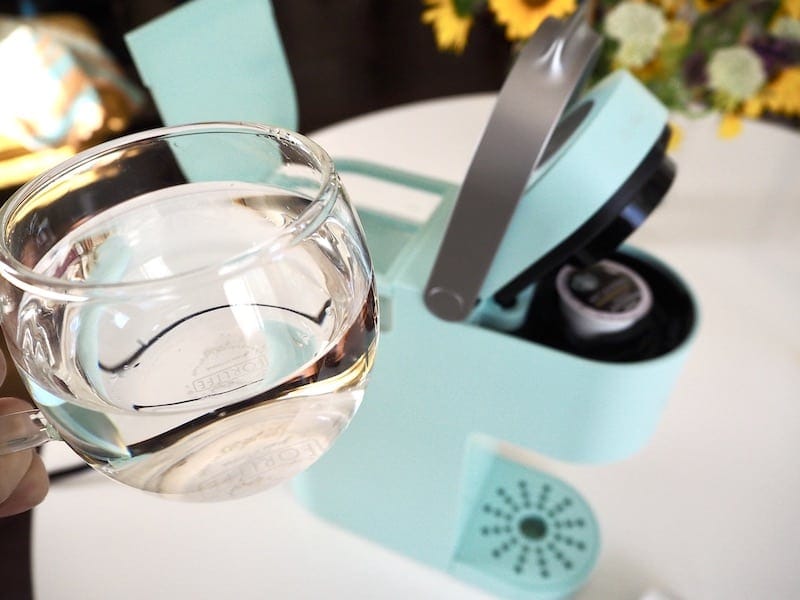
Place a mug beneath the brew head, open and close the lever, and press the brew button.
After the brew cycle finishes, discard the solution and thoroughly rinse the water reservoir.
7. Run 2-3 rinse cycles.
Fill the reservoir with water, place the cup under the brew head, and press the brew button. Repeat this process 2-3 times to ensure that you won’t have any lingering cleaning solution flavors in your next cup of coffee.
8. Enjoy your clean Keurig Mini!
That’s it! Your Keurig Mini should now be clean, grime-free, and ready to brew your next cup of coffee.
Conclusion
Cleaning a Keurig isn’t the most fun way to spend your time, but it will keep your brewer brewing, and it is a simple process. We hope this guide helps you quickly clean your Mini so you can get back to drinking delicious coffee! There’s nothing like a tasty glass of K-Cup coffee in the morning.
Try one of our other Keurig troubleshooting guides:
Kate is a lifelong coffee enthusiast and homebrewer who enjoys writing for coffee websites and sampling every kind of coffee known to man. She’s tried unusual coffees from all over the world and owns an unhealthy amount of coffee gear.