You value your Keurig coffee maker for its convenience. But unless you descale the inside of it regularly, it won’t be convenient for long. If you have ever seen that “PRIME” message light up on your machine, you know what we’re talking about. That’s when mineral deposits clog up your favorite morning brewmaster and turn it into a most inconvenient monster. So how do you descale and clean your Keurig? Scroll down for the seven simple steps — and whether you should use vinegar or Keurig’s descaling solution.

Why do you have to clean your Keurig coffee maker?
Since you only pour clean water into your Keurig, you may think the insides of the coffee maker should never need cleaning. However, with each refill, calcium, magnesium, and other minerals leave trace amounts behind in your machine. The amount and specific kind of each will depend on where you live. Some areas have water that’s “harder” than others, meaning the water has more dissolved minerals in it than are found in other places. Knowing what kind of water you have could be helpful with the maintenance of your machine. The harder your water is, the more residue will be left behind in your machine.
The residue happens because as the water heats in your Keurig, chemical combustion occurs and causes the minerals to leach out of the water. When the water empties, minerals remain behind in a coating on the metal parts of your Keurig. Eventually, if left alone, that coating builds on itself and turns into hard-to-remove chunks called scale. Depending on where you live, it could be a calcium scale, limescale, or another form.
When should you clean your Keurig?
It’s never a good idea to wait for that PRIME message to show up on your Keurig coffee maker. Some machines do have an automatic reminder that will pop up before it’s too late. If yours doesn’t have that notification ability, Keurig recommends descaling your machine every two to three months as preventative maintenance. If you’re a heavy user, you should probably do it closer to that two-month mark. If you know your water is considered harder than normal, you may want to do it even more frequently.
Some people swear their coffee has a slightly different taste as the scale builds up. But scale buildup seldom affects the taste of plain water, so it may not be noticeable in your coffee. You really can’t rely on taste to tell you it’s time to descale your Keurig. If in doubt, a simple inspection with a flashlight will reveal the scale on the inside of your machine. If you see it, descale it.
SEE ALSO: How to Clean a Keurig Needle: 3 Easy Methods

How to Clean & Descale Your Keurig

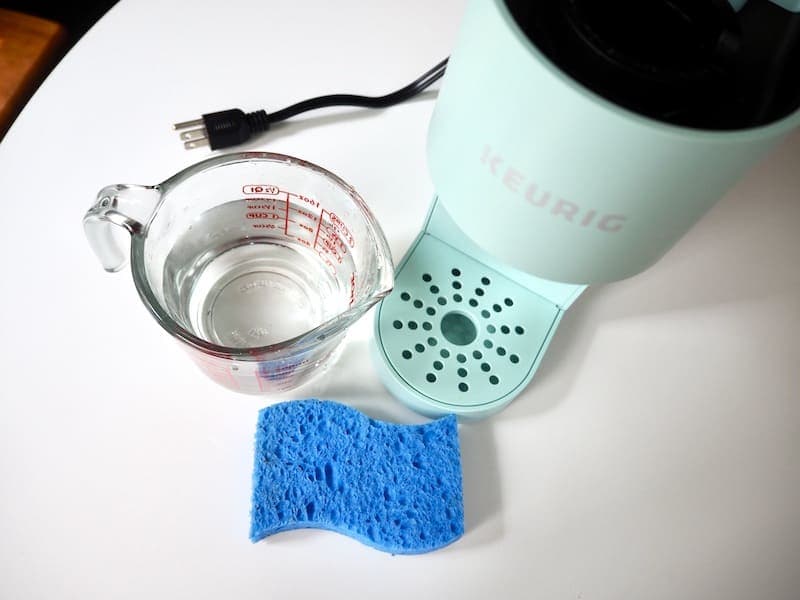
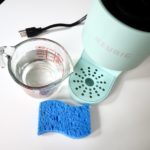
What You’ll Need:
- White vinegar or Keurig descaling solution
- Water
- Keurig coffee machine
- Coffee mug or another heat-safe container
Before you start descaling, you may want to clean the outside of your Keurig. Make sure your machine is turned off and unplugged. Using a damp paper towel or dishcloth, carefully wipe down the machine. Take off the drip tray and water reservoir, if possible, and wash them in soap and water. Once that’s done, it’s time to clean the inside!
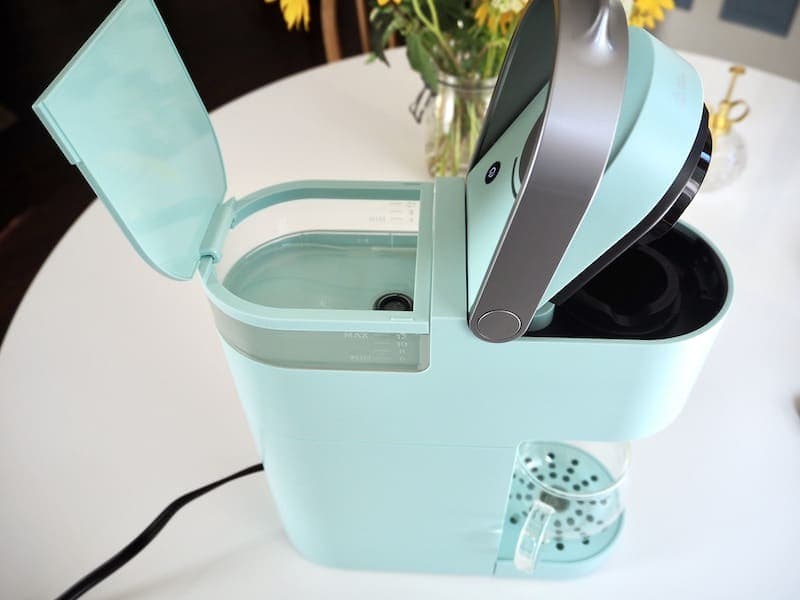
1. Add vinegar or descaling solution.
Fill your Keurig’s water tank halfway with either white vinegar or descaling solution.
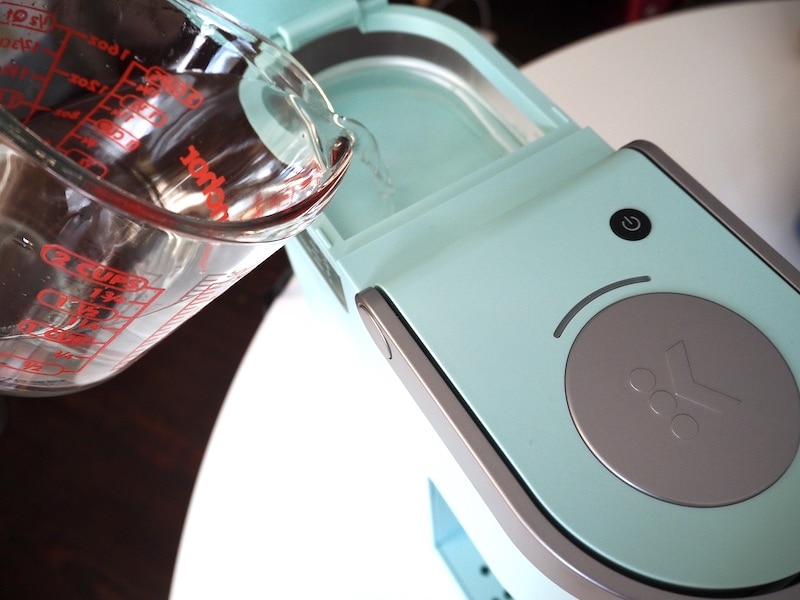
2. Add water.
Fill the reservoir the rest of the way with room-temperature water.
3. Put the coffee mug in place.
Put your coffee mug or another heat-safe container under the Keurig’s brew head. Make sure it’s big enough to hold all of the liquid that’s about to come out!
4. Run a brew cycle.
Run a full brew cycle, selecting a cup size if necessary. You may need to open and close the K-cup holder but don’t insert any coffee pods.
5. Dump out the liquid & repeat.
Throw the cleaning liquid away. If there’s still liquid in your Keurig’s water reservoir, repeat the process, running brew cycles until it’s empty.
RELATED READ: How to Drain a Keurig (Tips & Tricks for Every Model)
6. Fill the tank with water & run another brew cycle.
Rinse the cleaning solution out of your water reservoir and then fill it with water. Run one to three brew cycles like this to make sure you won’t end up tasting vinegar or descaling solution in your next cup of coffee.
7. Enjoy your clean Keurig machine!
That’s it! Your Keurig should now be fully cleaned and descaled.

Should You Use Vinegar or Keurig’s Descaling Solution?
You may be wondering which cleaning solution is a better choice. The answer? Both options work, though Keurig’s descaling solution is more effective and won’t require multiple cleaning cycles.
We noticed in the manual that if your machine malfunctioned during your warranty period and you had cleaned it with something other than Keurig’s Descaling Solution, your warranty would be voided. Despite the vinegar costing less, it might be less expensive in the long run to use the Keurig product in case you ever need a warranty repair or replacement. Keep reading for our full list of pros and cons:
Vinegar

Keep in mind, we’re talking about plain white vinegar here, nothing with color and nothing made from apple cider, rice, or anything else. We’re referring to the plain white vinegar you can buy in large plastic jugs that have been used for decades as a cleaning solution.
- Relatively inexpensive
- You can find it in any grocery store or market
- Non-toxic and environmentally friendly
- Not as effective at descaling
- Not recommended by Keurig
- May void your warranty
Keurig Descaling Solution
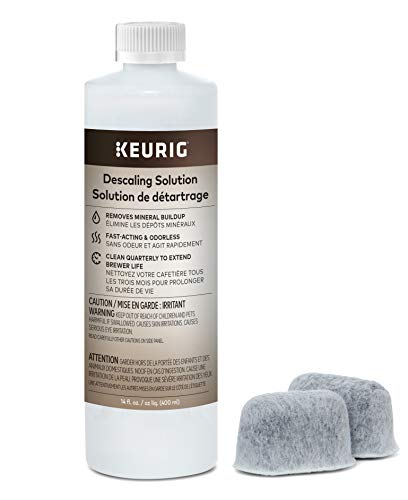
Keurig sells a descaling solution that’s specifically formulated to clean these coffee makers. The descaling solution Keurig makes works in all its automatic, manual, pod and K-cup, and commercial machines.
- Can be used to clean tea kettles and other appliances
- Specifically designed for Keurig machines
- Readily available online
- A little more expensive
- Harder to find in grocery stores
How to Clean and Descale Your Keurig
Equipment
- Keurig coffee machine
- Coffee mug or another heat-safe container
Materials
- White vinegar or Keurig descaling solution
- Water
Instructions
Add vinegar or descaling solution.
- Fill your Keurig's water tank halfway with either white vinegar or descaling solution.
Add water.
- Fill the reservoir the rest of the way with room-temperature water.
Put the coffee mug in place.
- Put your coffee mug or another heat-safe container under the Keurig's brew head. Make sure it's big enough to hold all of the liquid that's about to come out!
Run a brew cycle.
- Run a full brew cycle, selecting a cup size if necessary. You may need to open and close the K-cup holder but don't insert any coffee pods.
Dump out the liquid and repeat.
- Throw the cleaning liquid away. If there's still liquid in your Keurig's water reservoir, repeat the process, running brew cycles until it's empty.
Fill the tank with water and run another brew cycle.
- Rinse the cleaning solution out of your water reservoir and then fill it with water. Run one to three brew cycles like this to make sure you won't end up tasting vinegar or descaling solution in your next cup of coffee.
Enjoy your clean Keurig machine!
- That's it! Your Keurig should now be fully cleaned and descaled.
Conclusion
Now you know how to expertly clean and descale your Keurig coffee maker! You’ll be able to keep it running smoothly and brewing the tasty cups of coffee you expect from this convenient machine. If you want to keep your Keurig running smoothly and fully functioning, our suggestion is to descale it every two to three months with Keurig’s Descaling Solution. Otherwise, it might just turn into an inconvenient monster with a warranty problem!
Looking for more?