Smooth, creamy milk with tiny bubbles is the hallmark of a high-quality latte. Maybe you’re even guilty of preferring a latte over another beverage at a fancy coffee shop just so you can gaze at the intricate latte art while you sip. But did you know that you can craft textured milk at home? While it might take some time before your lattes earn accolades from coffee aficionados, with some practice you can learn how to texture milk from the comfort of your kitchen.

What Is Textured Milk?
Textured milk has been aerated, heated, and swirled to achieve its consistency. You might hear textured milk more commonly referred to as being frothed or steamed. However, extremely technical baristas may argue that there’s a slight difference between frothed and steamed milk, with frothed milk containing bigger bubbles than steamed microfoam.
While you definitely can texture milk using cheap kitchen equipment (we’ll show you how below), a commercial espresso machine with a steam wand does a better job. Those machines can reach into the thousands, though, so you might have to settle for a little less than perfect. You can buy a milk frother for around $20 online or indulge in a more expensive unit that’ll heat and froth for a little more.

Top 5 Tips and Tricks on How to Create Perfectly Textured Milk
1. Choose the right milk.
Whole milk is the reigning champion of latte art. It’s smooth while still holding its own and tastes sweeter than cold milk when heated due to the changes in the lactose. Not everyone can tolerate dairy though or would prefer to stay away from whole milk due to dietary needs or preferences. Oat milk is the best choice of all the currently available plant-based milks on the market. Textured oat milk looks similar to textured whole milk, so it’s the closest comparison.
You can also use almond, coconut, or soy milk, but coconut and soy are dense choices that are harder to shape into typical latte art. If you still want to keep the dairy without all the fat, you can try 2% milk as well. Although skim milk will texture, you’ll have a tougher time since it tends to form big bubbles as opposed to consistently smooth microfoam. If you use skim milk, be sure to tap the side of your cup on the counter to shake out the bigger bubbles before pouring it into your coffee.
2. Heat to 140ºF, but not beyond 160ºF.
To avoid the icky lukewarm temperature range, you’ll want to ensure that your milk heats to 140ºF. However, milk starts to scald once it passes the 160ºF threshold, which will give it an undesirable taste and destroy the texture that you need to make good art. You can use a food thermometer at first to gauge the temperature, but eventually you can probably use your best judgment to guess. When the cup becomes barely too hot to hold onto, it’s ready.
3. While heating, grasp the cup handle with one hand, and place your other hand either wrapped around the cup to estimate the temperature or holding a temperature.
It’s extremely important to hold onto the handle with one hand and keep your other hand that’s either wrapped around the cup or holding the thermometer relatively free. Milk heats exceptionally fast, and you’ll want to have an available hand to set the cup down in a hurry so you don’t burn yourself.
4. Only pour and heat as much as you need.
Milk doesn’t really reheat well, so be sure to only texture as much as you’re going to use at one time.
5. Make sure to swirl, tap, and pour slowly if you’re going to make art.
While there isn’t enough time in this article to go into details of particular designs, this article may help you find a few easy latte designs for beginners.

Step-by-Step Guide on How to Texture Milk
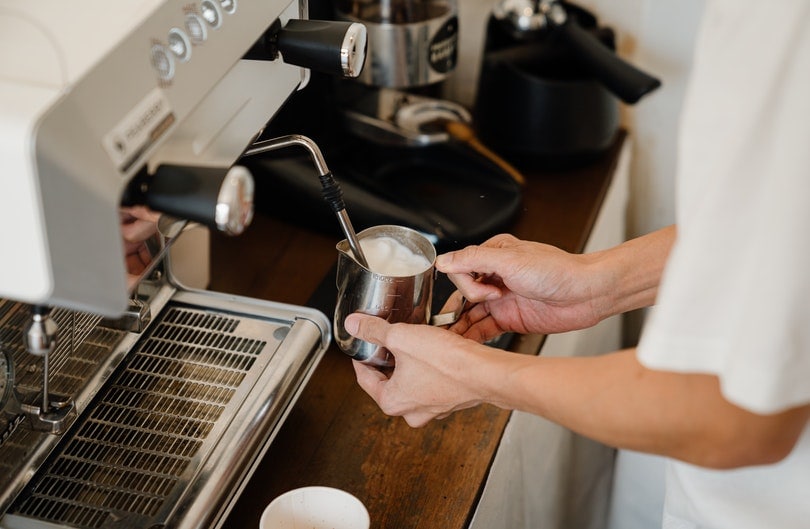
Method #1: Commercial Espresso Machine

- Clean bar mop towel
- Milk of your choice
- Milk pitcher
- Thermometer (optional)
- Espresso shots already poured for latte or brewed coffee for cafe au lait
1. Purge the steam wand.
With a clean bar mop towel wrapped around the steam wand, pull the lever down on the espresso machine for two seconds. Repeat once. This step clears any old crusty milk that might’ve lingered from the last latte, preventing it from tainting your new drink.
2. Pour your preferred milk into the pitcher.
The exact proportions depend on the size of your coffee cup and what drink you’re making. Make sure you start with fresh, cold milk. If you’re using a thermometer, submerge the tip into the milk and hold it with your extra hand.
3. Place the pitcher under the steamer nozzle and tilt it slightly.
Keep the pitcher handle facing you and hold the pitcher under the steamer. You’ll want to barely submerge the steaming nozzle under the surface of the milk so that it can aerate without splashing milk in your face. Tilt the pitcher at a slight angle towards you.
4. Pull the steamer lever.
You should hear a whirring sound, followed by hissing. This is the steamer aerating the milk. You should start seeing bubbles form but avoid creating big ones. If the milk splashes in your face, raise the pitcher slightly, but keep the steaming nozzle submerged about 1 inch.
5. Plunge the nozzle deeper into the milk.
Once you’ve created a few microfoam bubbles, you’ll want to go about 1 cm deeper into the milk. This creates the whirlpool effect that further textures the milk.
6. Test the temperature.
Continue steaming until the milk reaches 140ºF if you’re using a thermometer. If you’re gauging it by hand, you’ll want to keep going until the pitcher becomes barely too hot to hold.
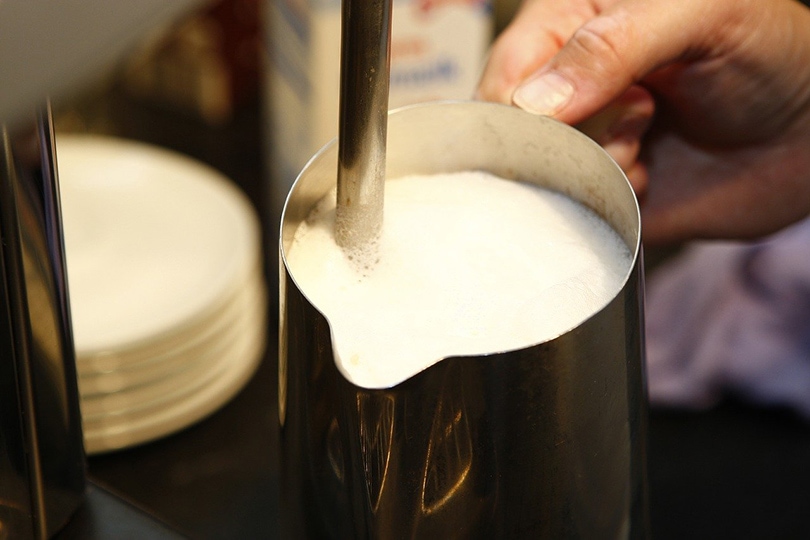
7. Swirl and tap for a consistent texture.
Pull the lever up to turn off the steam and raise the steamer wand to release your pitcher. Gently tap the side of the pitcher against the counter while you swirl it in your hand to remove any extra-large bubbles.
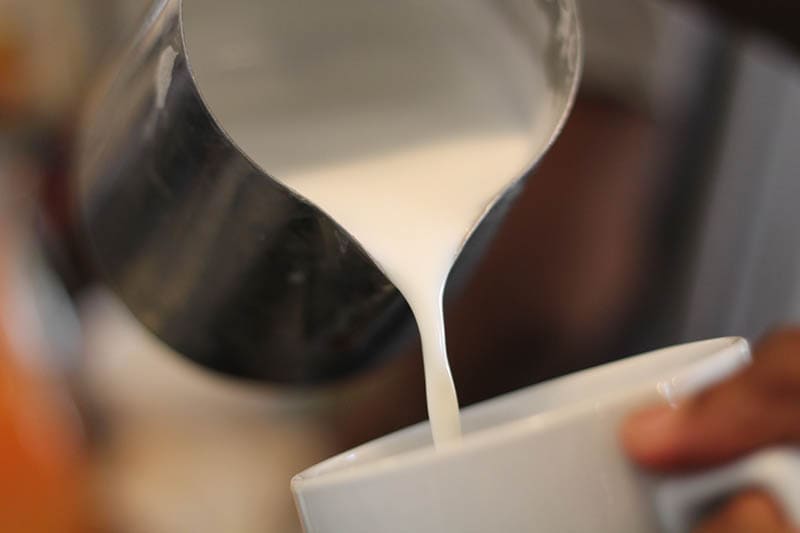
8. Pour into your prepared coffee.
Pour your milk into your cup of prepared espresso shots or brewed coffee.
9. Purge the steamer wand again.
Wrapping the bar towel around the steaming wand, gently tap the steaming level a couple more times to clear out the nozzle for next time.
Method #2: Kitchen Appliances at Home

While a commercial espresso machine produces the best results, you can also achieve textured milk at home through a few different methods:
- An all-in-one espresso machine like the Keurig K-Cafe
- Using a milk frother that also heats like this one by Bodum
- Heating the milk on the stove or microwave until it reaches 140ºF and then pouring into a milk frother like this one by Zulay, or whisking by hand.
- Some people even use the plunger on a French press to froth their heated milk.
FAQ
Why are there so many bubbles in my milk?
Some types of milk, such as skim, are bubblier than others. After you’re finished steaming, you can tap the side of your pitcher against the counter to bust any large excessive bubbles.
Why is the foam lumpy on the top?
Dense milks such as soy and coconut milk aren’t great for pouring because they tend to create a thick foamy layer on the top. Try swirling and tapping to reduce the puffy cloud that’s looming on the surface of the milk. You might even try stirring with a spoon if it’s really separated.
Why doesn’t my milk have texture?
Check the temperature. Milk that hasn’t yet reached 140ºF may not have the texture you desire, while milk that surpasses the 160ºF threshold may be scorched, which alters the texture (and taste) in an unpleasant way.
Also, check the position of the steaming nozzle. It should be barely submerged under the surface of the milk until you’re about halfway to 140ºF, and then it should be about 1 cm deeper. Avoid going down to the bottom of the pitcher or letting it splash on the surface.

Conclusion
Textured milk changes the taste and feel of your drink, transforming a regular cup o’ coffee into a treasured treat. While a cafe latte is probably a higher quality than one made modestly in your kitchen, you can make one at home that’s almost just as good and will save you money. If you work at a cafe, mastering the art of textured milk elevates your career skills, and your customers will often notice the difference, especially if they’re coffee snobs like us.
Table of Contents
- What Is Textured Milk?
- Top 5 Tips and Tricks on How to Create Perfectly Textured Milk
- 1. Choose the right milk.
- 2. Heat to 140ºF, but not beyond 160ºF.
- 3. While heating, grasp the cup handle with one hand, and place your other hand either wrapped around the cup to estimate the temperature or holding a temperature.
- 4. Only pour and heat as much as you need.
- 5. Make sure to swirl, tap, and pour slowly if you’re going to make art.
- Step-by-Step Guide on How to Texture Milk
- FAQ
- Conclusion