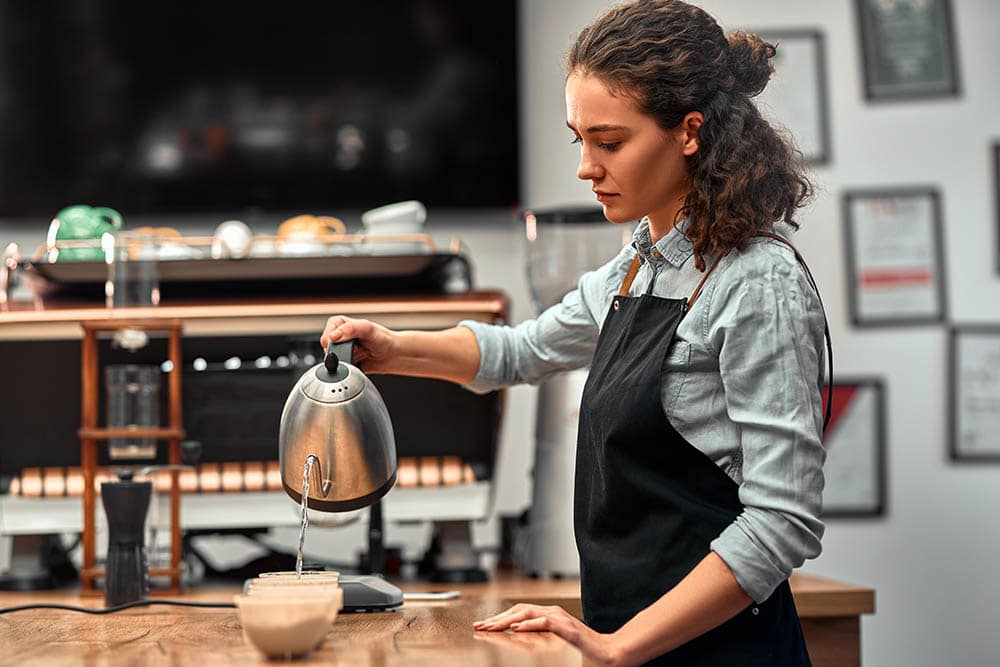
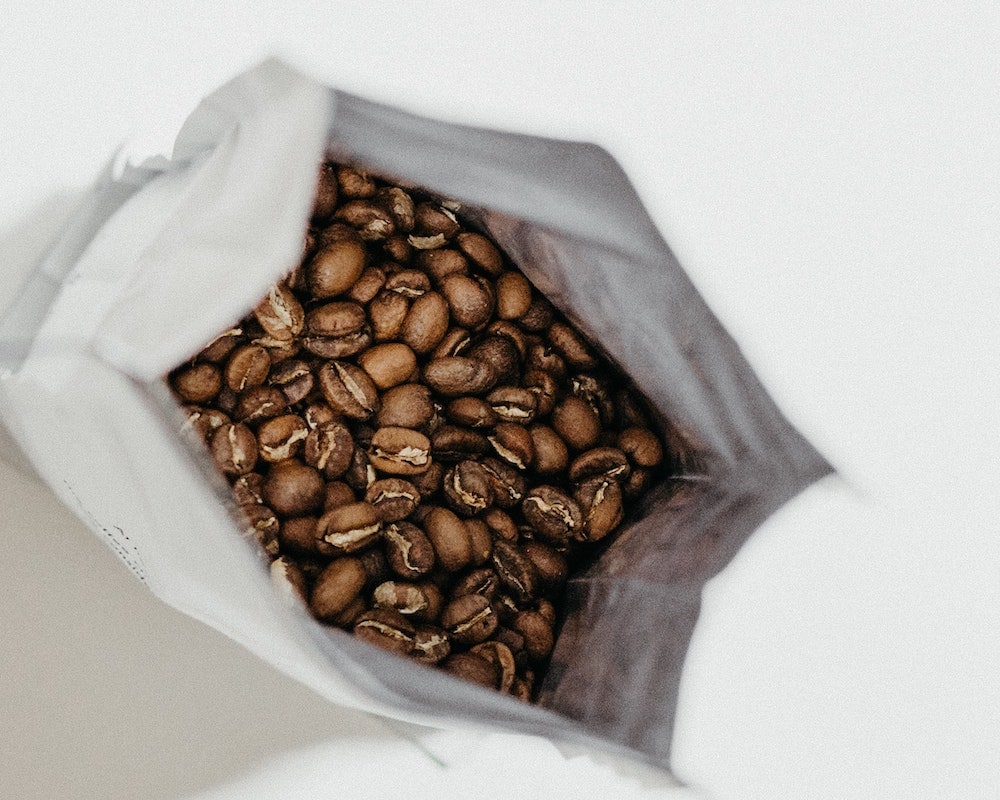
Single-serve coffee machines have changed the way millions of people prepare their coffee every morning. It is easy and convenient, but many coffee lovers know that pre-ground coffee just isn’t as flavorful or robust as freshly ground coffee. Add the fact that you can’t always find your favorite coffee in pods, and homemade coffee pods may sound like the best idea you’ve ever heard!
That’s why we’re going to go over how to make your coffee pods in this quick tutorial. By the end, you’ll have the ability to put any freshly ground coffee into an easy, convenient, and portable pod. Let’s get started!

Why Should I Make My Own Coffee Pods?
There are two main reasons you’ll probably never use store-bought coffee pods again once you make your own. The first is flavor and a whole lot of it!
Coffee loses its freshness, flavor, and complexity soon after it’s roasted. While whole beans can taste fresh for up to a month, ground coffee goes stale even faster and loses flavor in as little as a few days. When you buy weeks’ worth of commercial coffee pods, you’re likely buying coffee that was roasted months ago and is already stale, and it will probably get even staler by the time you finish the pods.
If you’ve never ground your coffee yourself, you’re in for a treat! Grinding your coffee right before you brew is one of the best ways to improve your coffee’s taste, and with homemade pods, you can enjoy fresh coffee without sacrificing much on convenience.
Secondly, making your own coffee pods will very likely save you a significant amount of money. Store-bought pods can sometimes cost close to $1 per cup of coffee, but each homemade pod could cost less than 20 cents, depending on the coffee you choose. That small amount saved adds up quickly, especially if you drink multiple cups a day.
How Do You Make Coffee Pods?
We figured improved flavor and money savings would convince you! Let’s get into how to make coffee pods so you can start enjoying better coffee for less right away.
- 7 grams of freshly ground coffee — you can increase or decrease to taste
- Round measuring scoop that fits in your coffee machine’s pod holder
- A cylindrical object that fits snugly inside your measuring scoop
- (Optional) Food-safe stainless steel clips
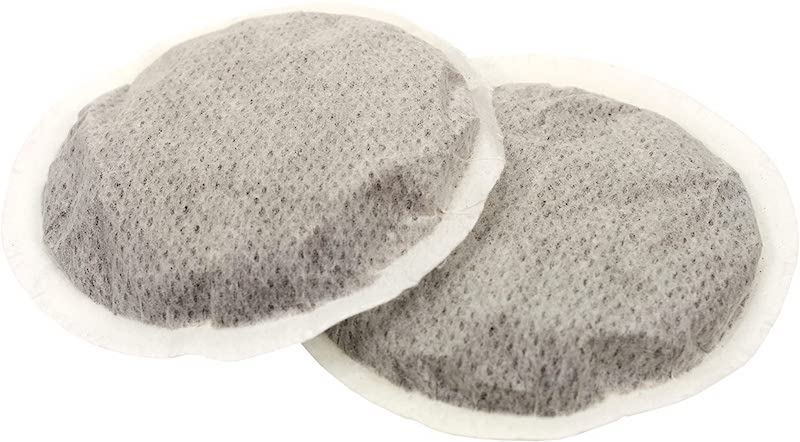
1. Place the filter over the scoop.
Begin by placing your scoop on the counter, and lay the filter flat over the scoop.
2. Push the filter down with a small glass.
Use your cylindrical object — we recommend a shot glass or pill bottle — to push the filter down into the scoop. The goal here is to get the filter to take the exact shape of the scoop. Make sure there are no large wrinkles or folds at this point.
3. Remove the glass and check your work.
Carefully remove the glass or pill bottle and ensure that the filter has taken the exact shape of the scoop.
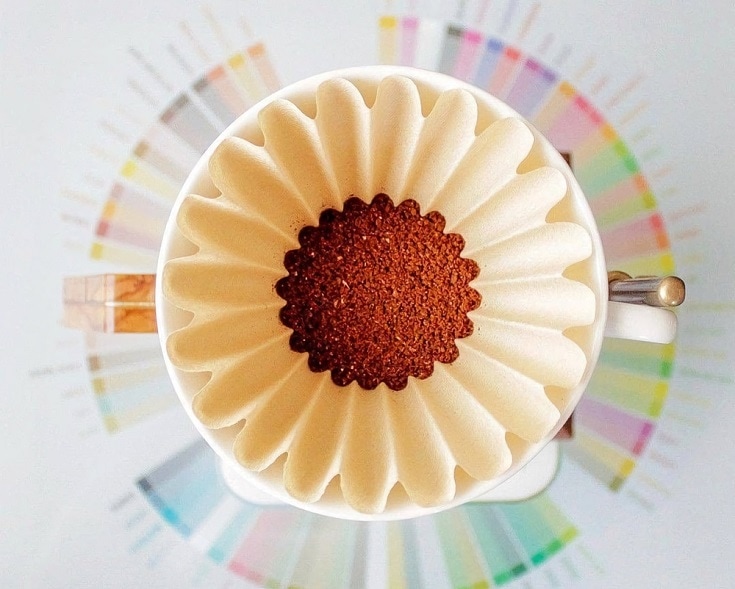
4. Add coffee.
Pour your coffee grounds into the filter.
5. Fold the filter closed.
Crease and fold the overhanging portions of the filter to enclose the grounds. You can use the food-safe stainless steel clips to hold it closed if needed, but proper folding should suffice.
6. Place your coffee pod into your brewer.
Carefully remove the folded pod from the scoop and place directly in your single-serve coffee maker with the folded portion facing upward.

7. Brew as usual.
Brew and enjoy!
What Kind of Filter Should I Use?
You can use any kind of paper coffee filter you choose, but we have found that filters made for flat bottom coffee baskets work the best. Make sure the filters aren’t too large, creating the need for multiple folds. Large, bulky filters can cause problems in your machine with pressure build-up, which can make quite the mess on your counter.
Our recommendation for the best results is a flat bottomed filter made for a 4- or 6-cup coffee maker.
Do I Need the Stainless Steel Clips
Definitely not! We’ve gotten great results just from creasing and folding the filter over the coffee grounds. If you find your pod isn’t compact enough or holding its shape nicely, you can tamp down the folded portions of the filter with your shot glass or pill bottle before removing the pod from the scoop.
If you do use clips to help your pod keep its shape, make sure that they are stainless steel and designed for use with food. Never use staples, paper clips, glue, tape, or any other adhesive, as they can all leech chemicals into your coffee that could be unsafe.
How Do I Store My Pods?
For added convenience, you may want to make multiple pods at the same time. Stocking up is a great idea to make your mornings run a bit more smoothly, but remember that part of the benefit of making your own coffee pods is the fresh taste of recently ground coffee. We recommend making a maximum of one weeks’ worth of pods at a time.
Your pods should be stored in an airtight container on your counter or in your cabinet. Wherever you usually keep your commercial coffee pods is sufficient for homemade ones as well.

Conclusion
And there you have it! Homemade coffee pods for convenience and a better coffee taste than anything you’d purchase from the store. This is a simple tutorial, but we’re confident the results will keep a smile on your face from the very first sip of coffee from your homemade pods. Happy brewing!
RELATED READS:
- What did we think of Glorybrew’s Compostable K-Cup Pods?
- Amazing Nespresso Hacks: How to Brew Better Coffee
- How to Make Cold Brew Coffee (With Pictures)
Featured Image Credit: Karolina Grabowska, Pexels