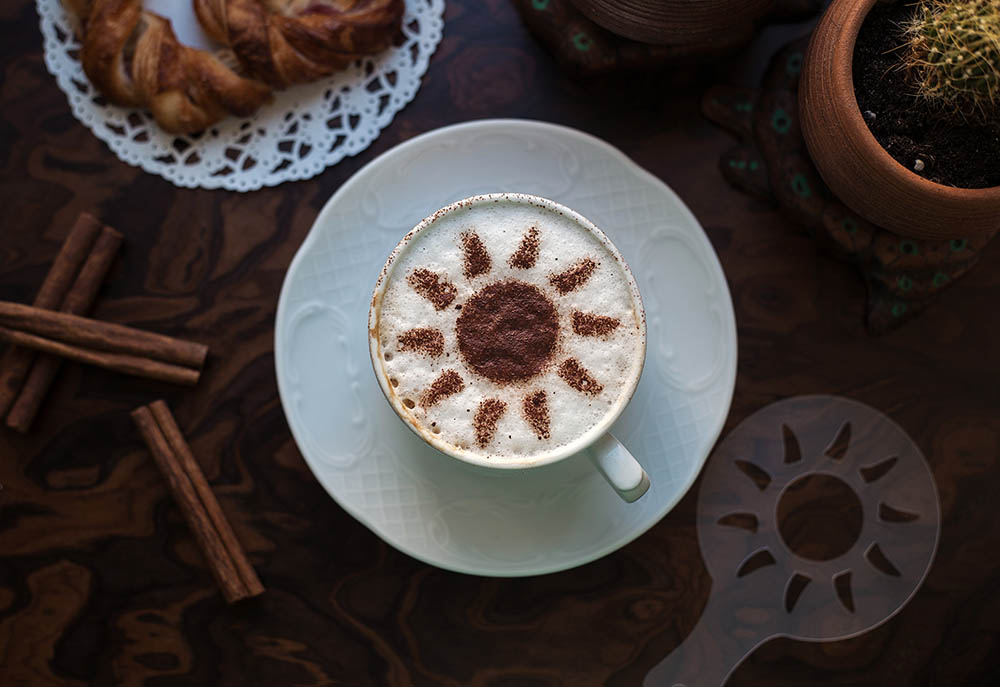
If you are an avid coffee drinker, then you probably love going to Starbucks or your local coffee shop, ordering a latte, and just marveling at how pretty it is when it gets to your table. The art on lattes makes them so pretty that sometimes you feel ashamed when you drink that masterpiece.
Whether the latte comes with a pretty heart or an intricate design in the latte or foam, it’s super cool and often brightens the day of the person stopping in for that morning latte or cappuccino.
Have you ever wondered who makes those cool designs and how it’s done? Well, it’s done with coffee stencils and is actually easy latte art, in some instances. So, can you make your latte art at home with coffee stencils? Yes, you can! This article will go into how to use coffee stencils to make easy latte art at home.

How to Use a Coffee Stencil (4 Simple Steps)
There are a few things that you’ll need to make latte art before you can begin. Those items are listed below.
- Your favorite coffee art stencils
- Coffee art pitcher
- A good milk frother
- Milk (It’s better to use whole milk, as it’s easier to pour)
- Brewed hot coffee
- Whipped Cream for if you don’t have a milk frother
- Cinnamon powder
- Cocoa powder
- Color sugars
Once you’ve gathered all your ingredients and put them in one place, so you don’t have to break your concentration running from cabinet to fridge and back to your workstation, it’s time to begin creating!
1. Froth Your Milk
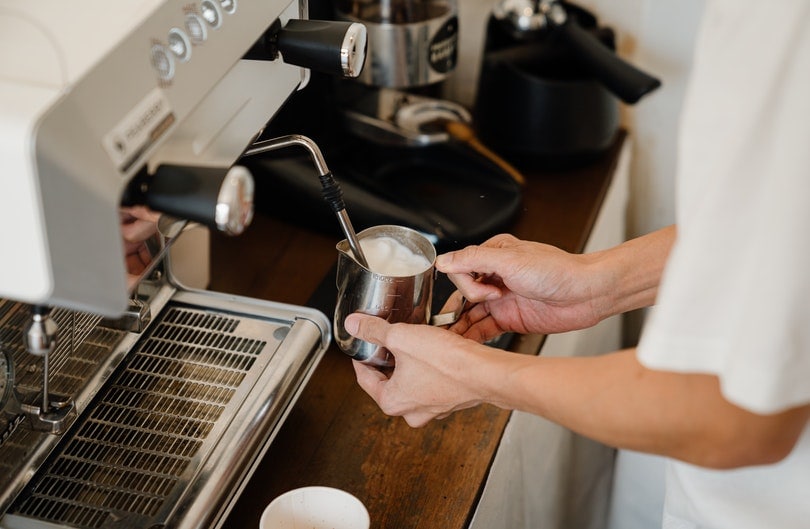
When frothing your milk, make sure to put the tip just beneath the surface for the best results because you don’t want it to gulp air. If you don’t have a milk frother for some reason, you can heat your milk on the stove; just be careful not to let it boil. You want to get the milk as close to steamed milk as possible.
If you can use a milk frother, then you’ll want to put the wand back in the heart of the milk when the milk is halfway up the coffee art pitcher.
2. The Application
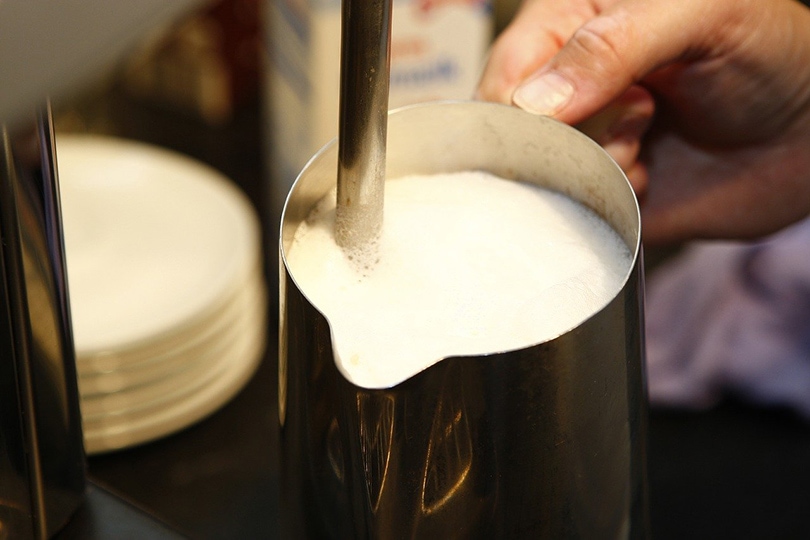
You need a fine froth to create latte art, so you’ll want to get any big bubbles out of the milk by giving the milk a swirl and a few taps to get rid of them.
3. The Pour
Once your milk has turned into a creamy froth, you want to pour your hot coffee into your mug. Then you can pour in your steamed milk or your creamy froth. The foam should be fine and a little wet for the best results. If, however, you’re using steamed milk, it’s a little harder to get that creamy foam. The trick here is to put a thick layer of whipped cream and then smooth it out with a knife. It’s the cheater’s version of foam, but it works!

4. Stenciling
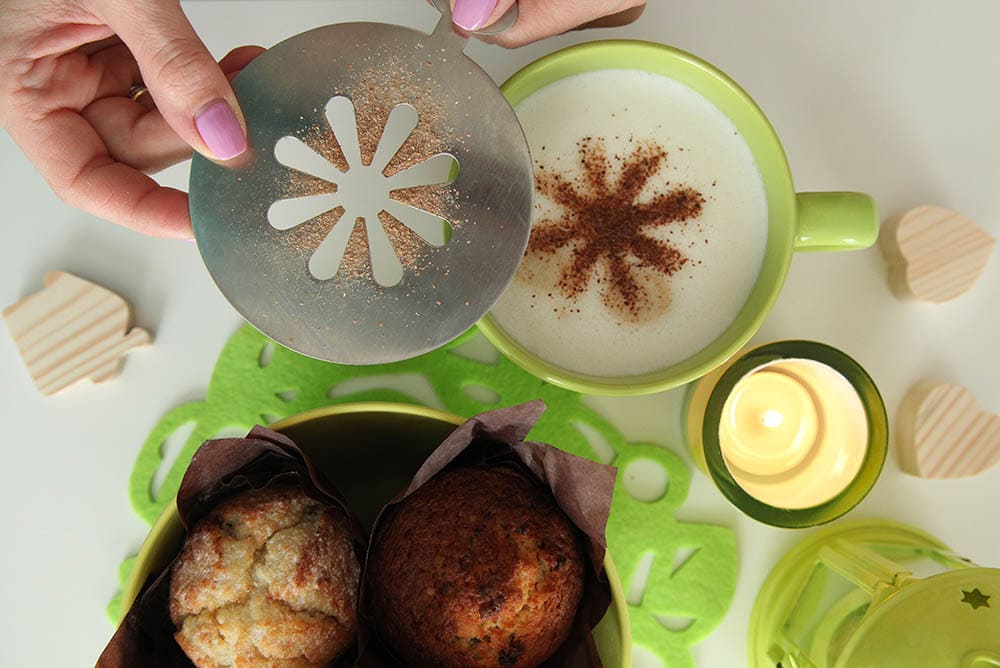
Choose your favorite coffee stencil and either hold the stencil or place it over the rim of your coffee mug. Next, take your cocoa powder, colored sugars, and cinnamon powder and sprinkle them over the stencil to make your design. When you’re done, gently and slowly remove the stencil from your cup and take a look. Whatever design you’ve chosen with your coffee stencils should be amazing, and the result is a cup of coffee that anyone would love!


Using Coffee Stencils: Final Thoughts
This is the easy way to use coffee stencils to make your latte art. Remember, you don’t have to be a barista or work in a coffee shop to make gorgeous art at home with your lattes and cappuccinos. Follow the easy tips above, and soon you’ll be a latte art expert and be able to compete with the best of them.
Featured Image Credit: olaneko, Shutterstock


