One of our favorite methods of making coffee is with a French press because it makes delicious, bold, and full-flavored coffee with a great mouthfeel. What’s a great way to ruin a tasty and decadent cup of French press coffee? Neglecting to clean your equipment! Below, we are going to go over how — and why — to clean your French press thoroughly after each use. Go get yourself a cup of coffee from a clean brewer, and let’s get started!

Why Clean My French Press?
For some brewing methods, especially those that use paper filters, you can get away with disposing of the filter and rinsing your equipment. Using a French press is a brewing style that uses immersion, which means your coffee grounds are mixed directly with hot water, and they float freely inside your carafe.
Any grounds that get caught in the nooks and crannies in your carafe or on your filter plunger will make their way into your next batch of coffee. These stuck grounds can cause bitter and unpalatable flavors, and they lead to an overall weaker cup of coffee. Carefully removing the grounds and any coffee residue will allow you to continue to brew coffee that’s strong, flavorful, and oh-so-delicious.
It’s clear that it’s essential to clean your French press, but how do you do it? Let’s take it step by step.
How to Clean a French Press: Guided Steps
1. Let Your Carafe Cool
The first step is the easiest: do nothing! It may be tempting to clean your French press immediately after brewing, but right after pouring your first batch out, the glass and plunger are the hottest. You can easily burn yourself on any part of the equipment that comes in contact with the hot coffee.
Additionally, we speak from experience when we say that heated glass doesn’t get along well with cold water! Glass can’t hold up to rapid temperature changes, and your carafe is likely to crack or shatter if it’s exposed to cold water directly after brewing. Let your equipment cool to room temperature before attempting to wash it.
2. Get Rid of Spent Coffee Grounds
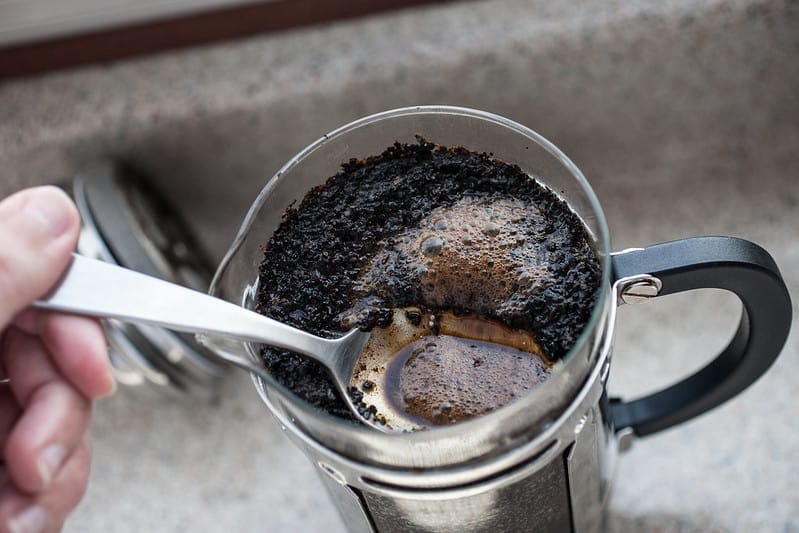
Next, you’ll want to dispose of the coffee grounds inside your carafe and rinse any stubborn grounds off in the sink. We recommend dumping the grounds in the garbage, as large amounts of coffee grounds can quickly clog a sink.
Make sure not to bang the French press on the side of the garbage, which we know is so tempting to do! Your carafe may seem durable, but it can still break and be rendered useless if not handled carefully.
Once the bulk of the spent coffee grounds are out, rinse your carafe and the plunger in your sink.
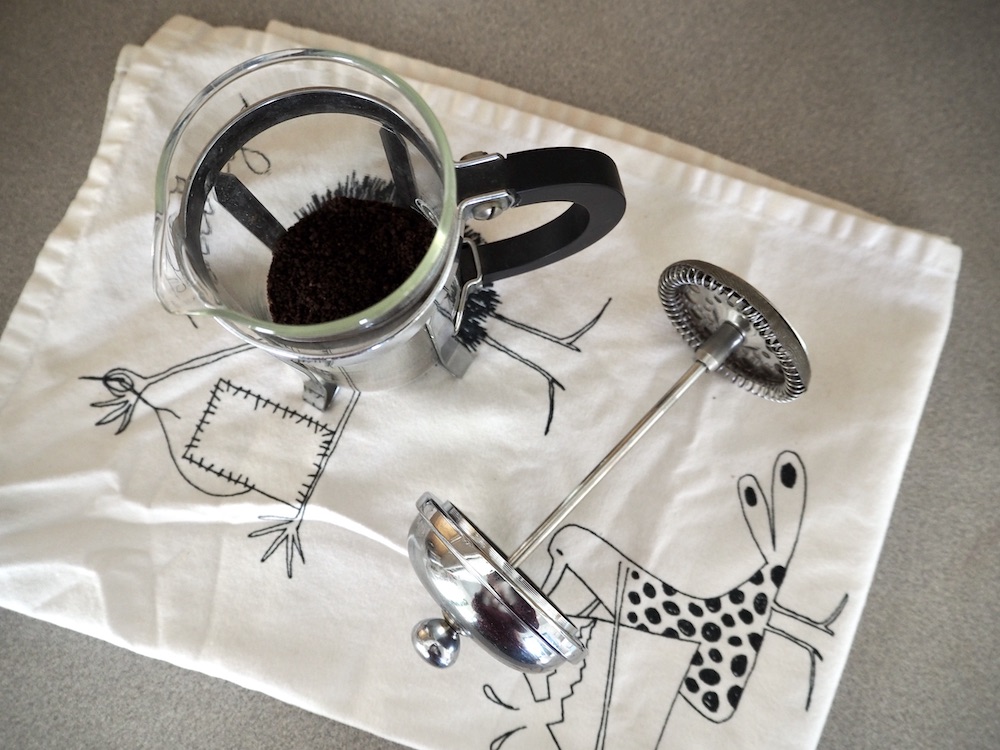
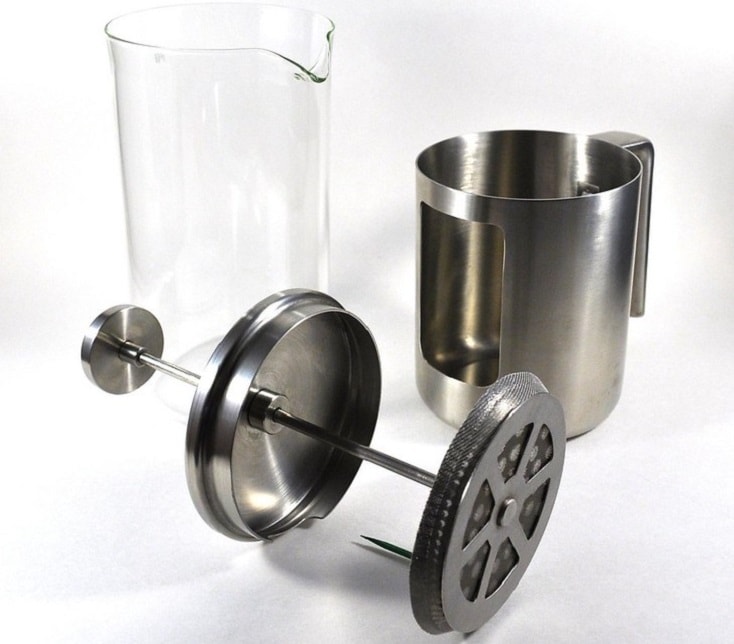
3. Disassemble the Plunger
All French presses include a plunger that can be taken apart, and they usually include three or four pieces: a top to your carafe, which has a long metal shaft that extends down into the carafe; a thin metal mesh, which is used to filter the coffee grounds out of your finished product; a rigid metal plate that offers support to the mesh; and a rigid connecting piece that screws into the shaft attached to the top. Unscrew the shaft, and take the mesh filter off of the bottom parts of the plunger.
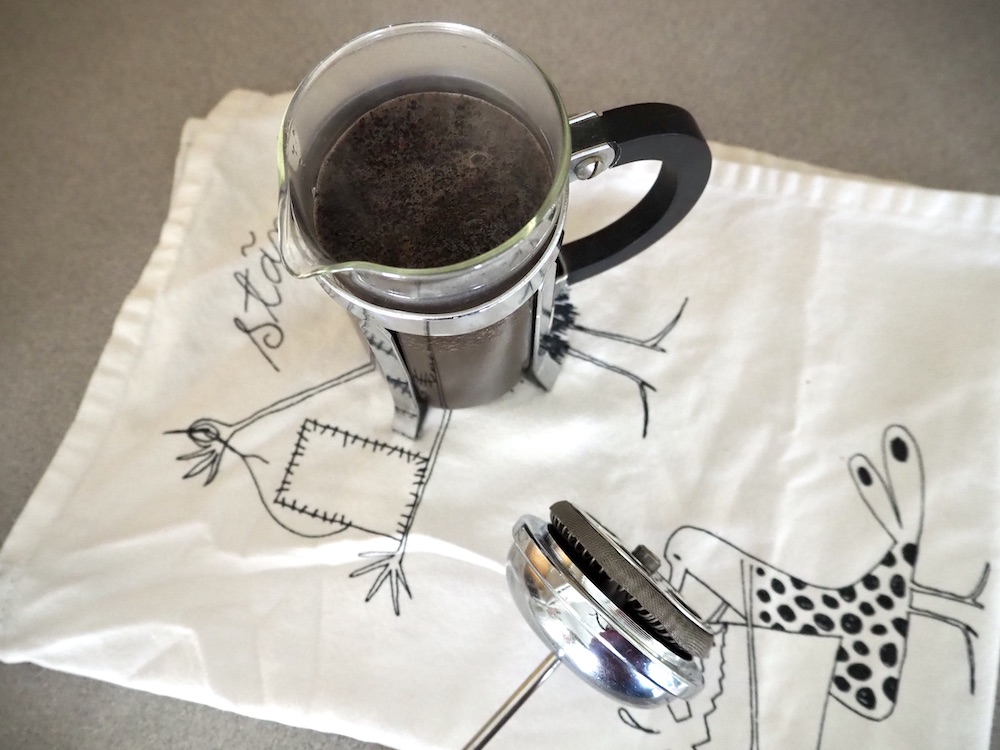
4. Clean All Parts with Soapy Water
Next, you’ll need to take each part of the plunger as well as the carafe itself and wash them thoroughly with soap and warm water.
You’ll likely notice some grounds that have gotten stuck between the pieces of your plunger, as well as some residue on the sides of your carafe and the metal mesh. Scrub these areas that come in contact with coffee and grounds carefully, and rinse thoroughly — no one likes soap-flavored coffee!
5. Let Pieces Dry
You can dry the carafe and the plunger pieces with a dry dish towel or paper towel, or you can simply let the equipment sit out on a drying rack. We usually choose to make this another “do nothing” step!
6. Reassemble the Plunger
Once all of your pieces are dry, you can reassemble the plunger. Begin by placing the riding bottom piece that receives the metal shaft on the counter. Add the rigid metal plate, the thin metal mesh, and finally screw the shaft back on, securing all the plunger pieces. The plunger can be placed back in your carafe for easy storage.

Cleaning a French Press: Final Thoughts
You probably already enjoy French press coffee, and if you’ve never cleaned your equipment correctly, this guide should help you enjoy it even more! Clean equipment is vital for making flavorful and delicious coffee, so make sure to repeat these steps after each use. Happy brewing!