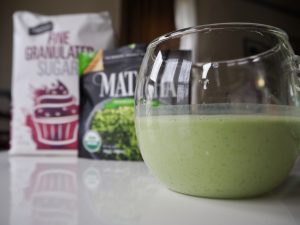
Cold brew coffee is one of our favorite kinds of coffee. It’s smooth, bold, and chocolatey, and it’s easy to make a big batch and savor it slowly over a week or two. Recently, over a cup of velvety cold brew we made, we started thinking about using another favorite of ours – the AeroPress – to make some cold brew. On the face of it, the AeroPress doesn’t seem well-suited to making cold brew. Usually, cold brew is made in big batches, with large containers and filters, and the AeroPress is comparably tiny.
Undeterred by this conundrum, we set out to develop a way to make cold brew using an AeroPress. It’s not difficult to just dump some coffee in an AeroPress and let it sit overnight, but we wanted more. In this article, we’ll walk you through our process for making Aeropress cold brew. We’ll break down all the steps so you can follow along at home and also explain our reasoning and why you would want to make cold brew with an Aeropress in the first place. Let’s begin!

Why Make AeroPress Cold Brew?
Before we start on the recipe specifics, we should address the elephant in the room: why use an Aeropress to make cold brew in the first place? This is a great question, one we struggled with for some time. Cold brew isn’t very hard to make normally, and the AeroPress has a very small capacity, taking away one of the primary benefits of using the cold brew method.
One thing in particular that AeroPress has going for it is the built-in filter. If you’ve ever made a big batch of cold brew, you probably know that filtering it can be a feat. Even with a French press or dedicated cold brew system, it’s all too easy to spill coffee and grounds everywhere. It’s not unusual for us to filter our cold brew multiple times, and the whole process is tiring.
If you use an AeroPress, the filter is part of the equipment, making it easy to mindlessly push the plunger and wind up with clean, clear coffee. “But wait!” I hear you cry, “What about using a French press?” That’s a good point, but an important difference is a French press filter is usually made of metal while an AeroPress uses a paper filter. We always filter our cold brew through a paper filter, even if we use a French press to do the initial filtering. Using an AeroPress saves a step.

The other major benefit to using AeroPress is fast experimentation that is less wasteful. If you have a favorite cold brew recipe and you aren’t interested in changing things up, using an AeroPress is probably not your best option. However, if you are experimenting with new recipes or new beans, making cold brew in an AeroPress is a great way to test out different grind sizes and steeping times without wasting tons of coffee if it comes out subpar. Cold brew uses a lot of coffee grounds compared to how much drinkable coffee you end up with and using an AeroPress as a testing ground saves precious coffee.

Easy AeroPress Cold Brew
Equipment
- AeroPress (with paper filter)
- Kitchen scale
Ingredients
- 30 grams coarsely ground coffee
- 210 grams water
Instructions
- Start by grinding your coffee on a coarse setting. A good starting point is to set your grinder slightly coarser than you would use for making French press coffee.
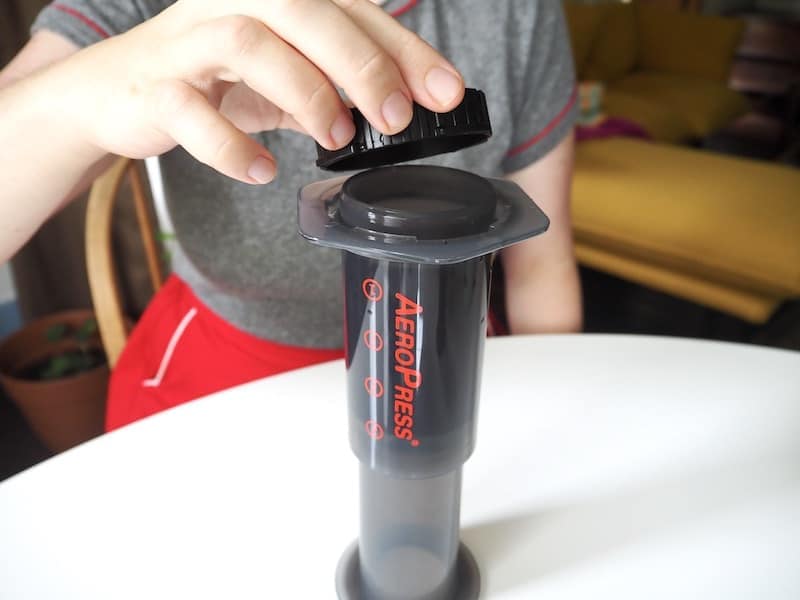
- Put the AeroPress plunger into the brew chamber and turn the whole thing upside down. This is a cold brew version of the inverted AeroPress method.
- Add 20 g of coffee to the AeroPress.
- Pour 210 g of water over the grounds and stir until the coffee is evenly wet.
- Put the paper filter in the filter basket and cover the AeroPress.
- Wait 16 hours. Some recipes use different steeping times, but we’ve found 16 hours to be the sweet spot for us.
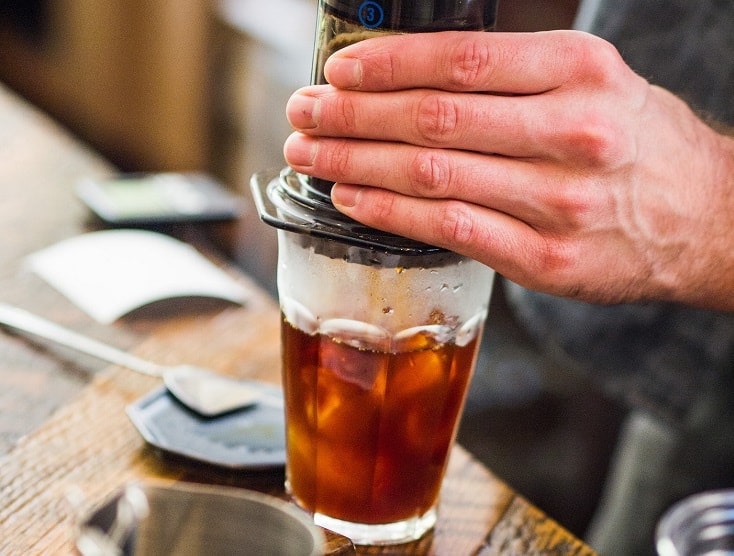
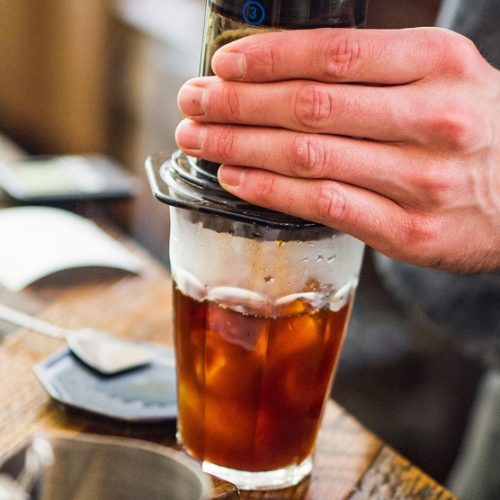
- After 16 hours have elapsed, flip the AeroPress over and plunge the cold brew into a mason jar or other sealable container.
Notes
Nutrition
Ultra-Fast Aeropress Cold Brews
If 16 hours sounds like an eternity to you, this recipe might be more your speed. It turns out that the Aeropress is capable of making a similar style of coffee in much less time, thanks to the pressure generated when you plunge Aeropress coffee. We like traditional cold brew better, but if you have a hankering for cold brew and don’t want to wait until tomorrow to have some, this recipe is a great option.
- 15 g finely ground coffee
- 100 g water
- AeroPress
- 5 minutes
- Start by grinding 15 g of coffee on a fine setting. Slightly finer than drip but coarser than espresso is the goal.
- Put the filter in the basket and attach the basket to the Aeropress.
- Set the Aeropress on top of your mug.
- Add 15 g of coffee to the Aeropress.
- Fill the Aeropress with 100 g of room temperature water. This should bring the water level up to about the “1” printed on the Aeropress.
- Stir continuously for 1 minute.
- Plunge the Aeropress with constant pressure until you hear a hiss. Try to time the plunge so it takes about 30 seconds.
- Add tap water or ice cubes until the coffee fills an 8-ounce glass.
This recipe isn’t perfect, and it’s not quite the same as traditional cold brew, but it’s close. It’s a great option for making a quick and dirty cold brew-like coffee without having to wait.

Conclusion
We hope you enjoyed this AeroPress cold brew guide. If you have the time, we recommend giving the first recipe a try when you only want to make a small batch of cold brew. We use the first recipe for experimenting with new beans and different coffee to water ratios since it’s more efficient, and we don’t feel bad trying something crazy since we’re not using a lot of coffee.
If time is of the essence and you need your cold brew now, the second recipe is a great option. It’s not quite as smooth or sweet as real cold brew, but it comes surprisingly close. In either case, the AeroPress is capable of more than it seems at first glance. AeroPress cold brew is one of those things that never occurred to us until recently, and now we can’t imagine living without it.
RELATED READS:
- How to Brew AeroPress Coffee (With Pictures)
- AeroPress Tea Recipe: Easy Steps
- How to Make an AeroPress Latte: Simple Steps
Featured Image: Roland Tanglao, Flickr, CC 2.0 (cropped)